Sending batch signatures with GetSign is easy and efficient. Just follow these simple steps:
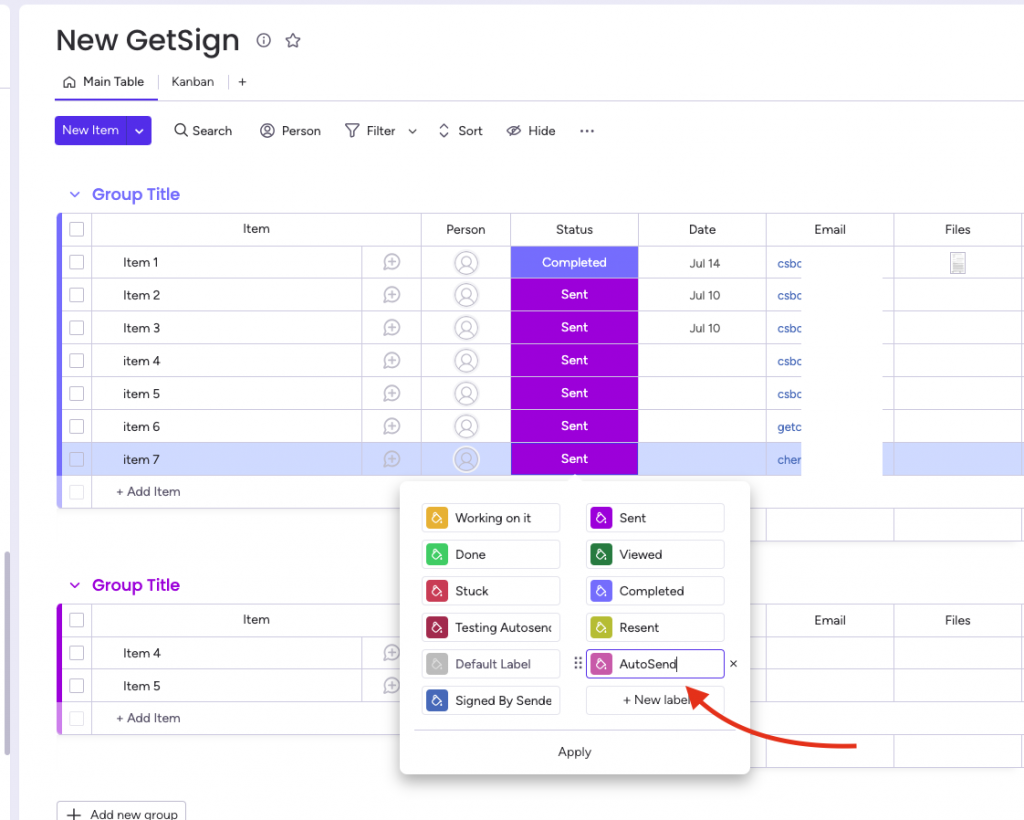
Step 1: Create a new status label
- In the board where you plan to use GetSign, either add a new status column or edit an existing one.
- Create a new label that will distinguish the auto send, for example, label it as “AutoSend.” Once you’ve done that, don’t forget to click on Apply to save your changes.
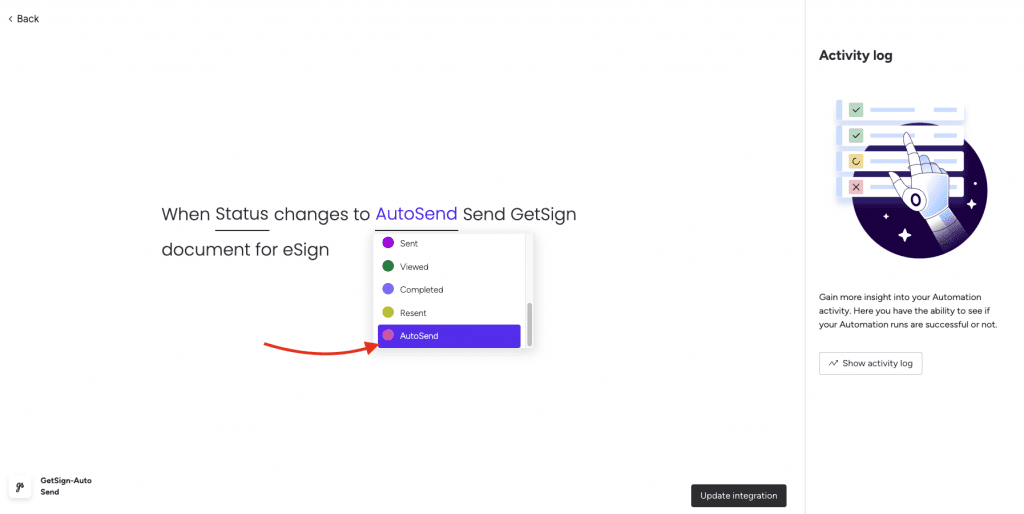
Step 2: Add the GetSign integration
- While still on the same board, head to the “Integrate” section and click on the “Add New Integration” button.
- Look for the “GetSign Auto Send Integration” option, and then proceed to map the status column you created in the previous step.
- Select the newly created “AutoSend” label for this integration. Once everything is set, click on the “Add to board” button to finalize the integration.
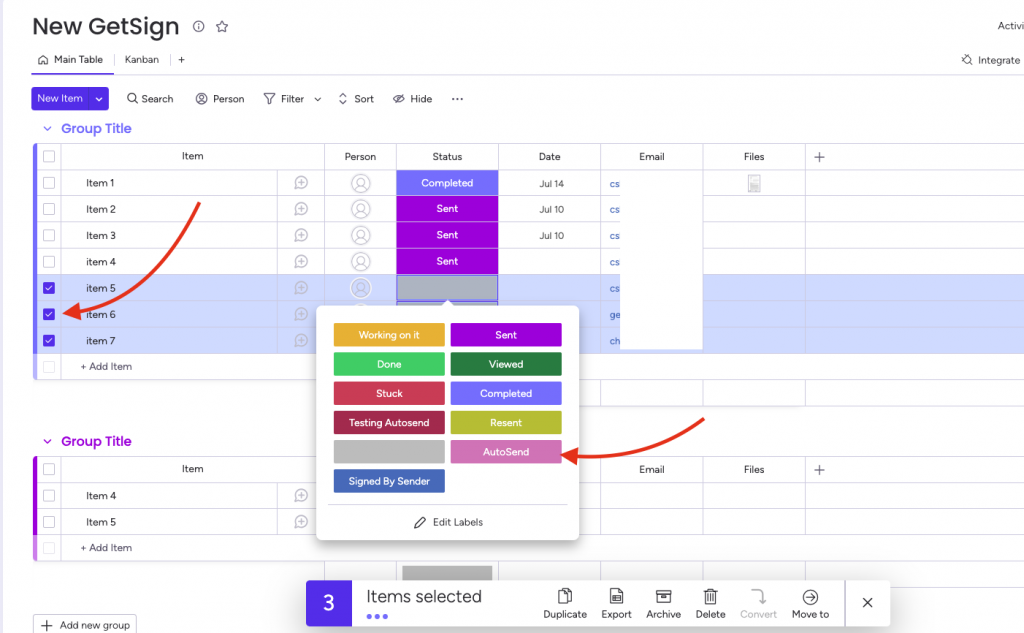
Step 3: How to batch send signatures
- To send signatures in batches, it’s as simple as selecting the items you want to send and changing their status to “AutoSend.” GetSign will then take care of the rest, processing the signatures efficiently.
By following these steps, you’ll be able to send batch signatures smoothly and make the most of GetSign’s features. If you have any questions or need further assistance, feel free to ask. Happy signing!