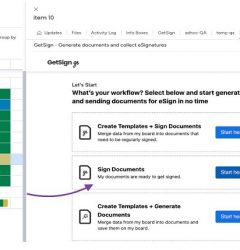
To use GetSign, you need to follow these steps:
- Install GetSign from the Monday.com App Marketplace.
- Go to the board where you want to use GetSign.
- Click on an existing item or create a new one.
- In the item view, click on the “+” icon and select “GetSign” from the list of available apps.
- GetSign will then be added as a tab in the item view.
When you upload a document it becomes the default template to that specific board and for all newly created items on that board. Any existing items that have not yet started the signing process will also use this new template when you delete the old one and upload a new document.
However, any items that have already started or completed the signing process will keep the original document as their template. So if you delete the original template, these completed items will still have the old document as their template, while new or in-progress items will use the new one.
In order to send an email to your receiver for document signing, you need to make sure that the item has an email specified in the email column.
- Go to the board containing the item you want to send for signing.
- Make sure the item has an email address specified in the email column.
- If the email column is blank, enter the email address of the person you want to send the document to.
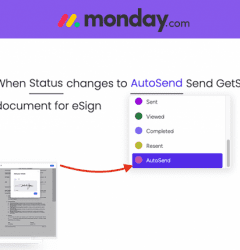
You can use monday.com’s automation feature to set up custom notifications based on changes to an item’s status. Here’s how:
- Go to the “Automate” section in your monday.com board.
- Click on the “Create Custom Automation” button.
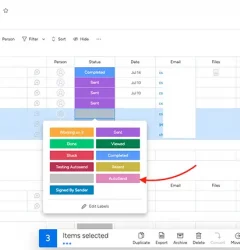
- Choose the trigger condition “When status changes to something”.
- Select the status you want to trigger the automation.
- Choose the action you want the automation to perform, such as “Send an email to someone” or “Notify someone”.
- Enter the email address or user name of the recipient(s) for the notification.
- Customize any additional settings for the automation, such as the message content or timing.
- Save the automation.
Related Post
Recent Posts
- How to use Smart Columns to identify key dates like holidays and label them automatically for better resource allocation on monday.com boards
- How to use Smart Columns to never miss an SLA target again on your monday board
- How to use Smart Columns for Casting advanced formulas into standard columns
- How to use Smart Columns to set regional numbers & dates formatting on your monday.com boards
- How to use Smart Columns to enforce conditional logic to monday.com board status columns
- How to use Smart Columns to validate any phone number stored in your monday.com phone board column
- How to use Smart Columns to enforce Mandatory Columns to any standard column on monday.com board


