To begin using VLookup in your workflow, follow these steps:
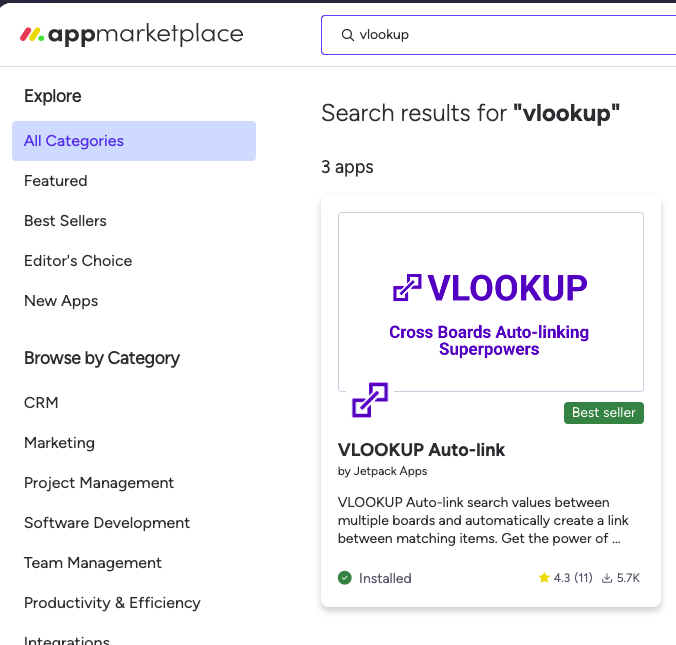
- Install VLookup: Visit the App Marketplace and search for VLookup. You can go ahead and install it to get started.
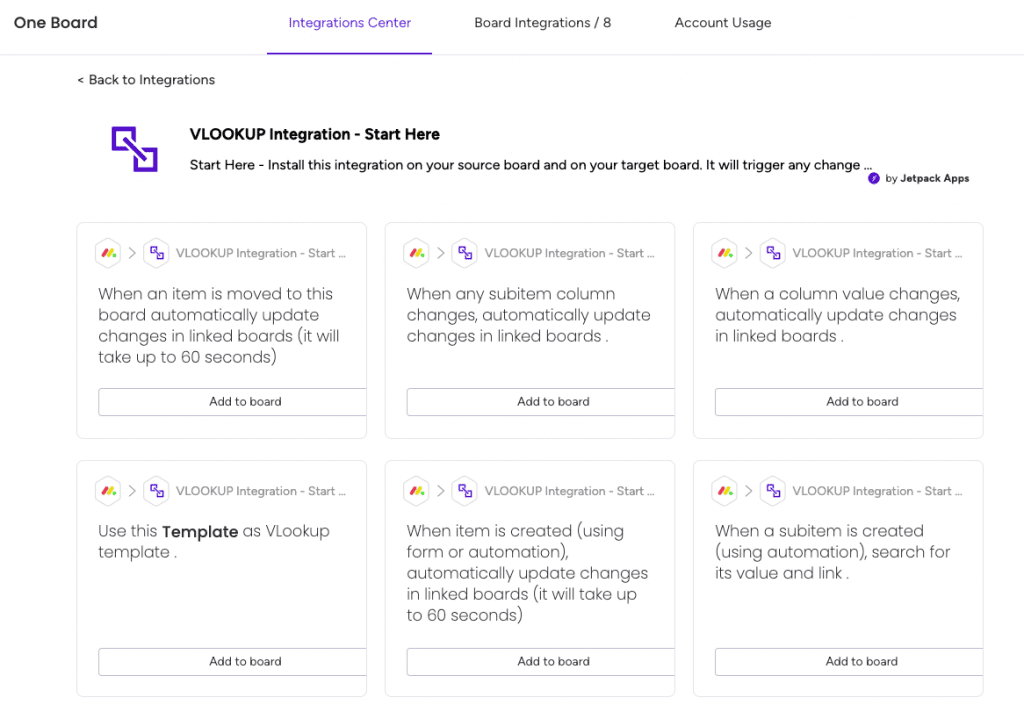
- Install VLookup Integrations: Once VLookup is installed, select the board where you want to use it and click on “Integrate.”
- Search for VLookup and choose the integration that suits your needs. If you want to create a new item, select “when item is created (using form and automation)…”. Select “when a column value changes…” if you want to update a column.
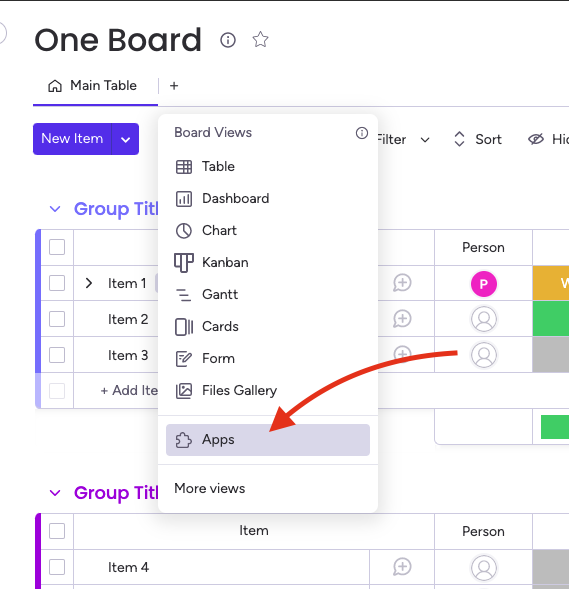
- Install VLookup board view: To use VLookup, add it to your board view. Click the “+” button, select “Apps,” and choose VLookup from the list.
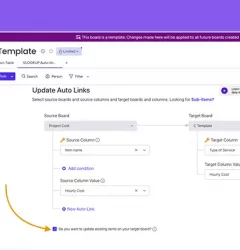
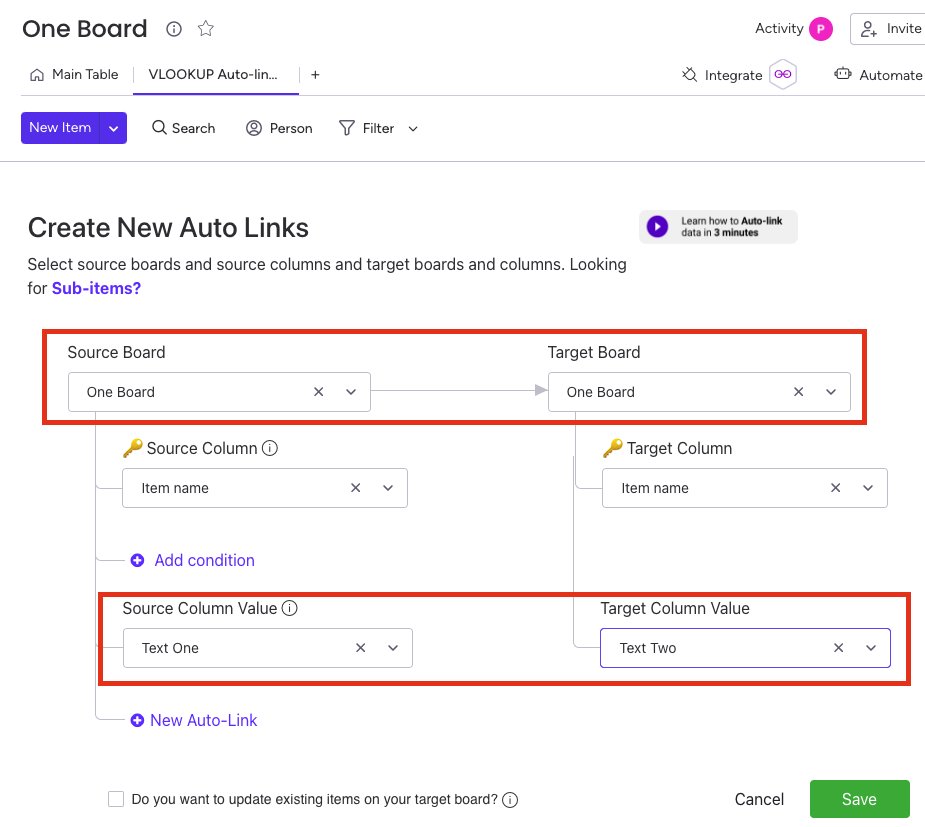
- Create a recipe: To connect the columns you want to use, create a recipe. Go to your target board and access the VLookup board view. Click on “Add new auto-link” and select the source and target boards. Then, specify the columns you want to connect.
By following these steps, you can effectively use VLookup in your workflow to automatically link data between columns on the same board, saving you time and effort.